How to add a Point of Sale in Invent ERP?
How to add a Point of Sale in Invent ERP?
The Point of Sale module in Invent ERP allows you to handle transactions, payments and reporting seamlessly from one interface. Having multiple Point of Sales makes it easier to manage different cashiers or branches, while improving inventory tracking and accountability. Each POS can be customized with its own configuration, payment methods, and access rights - giving your business the flexibility it needs.
Step-by-Step Process
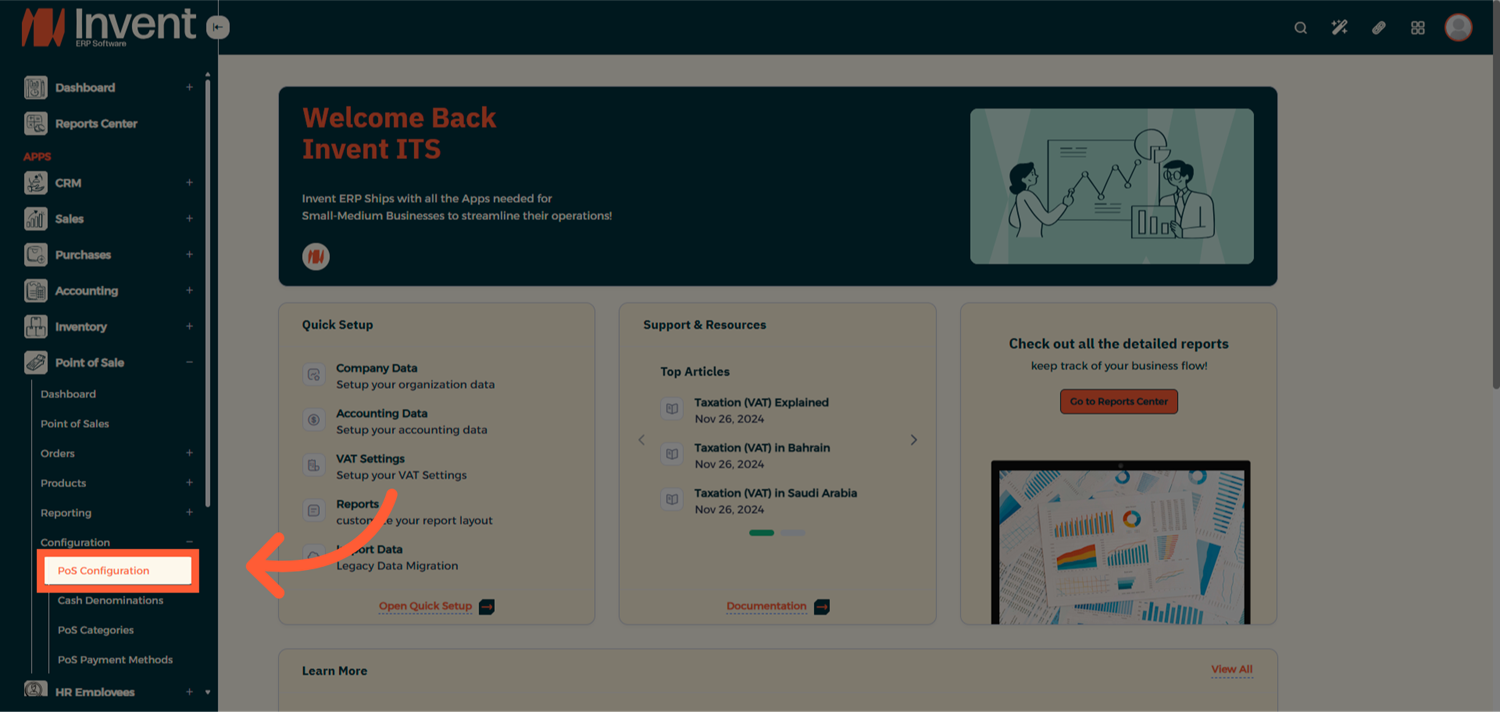
Step 1: Open POS Configuration
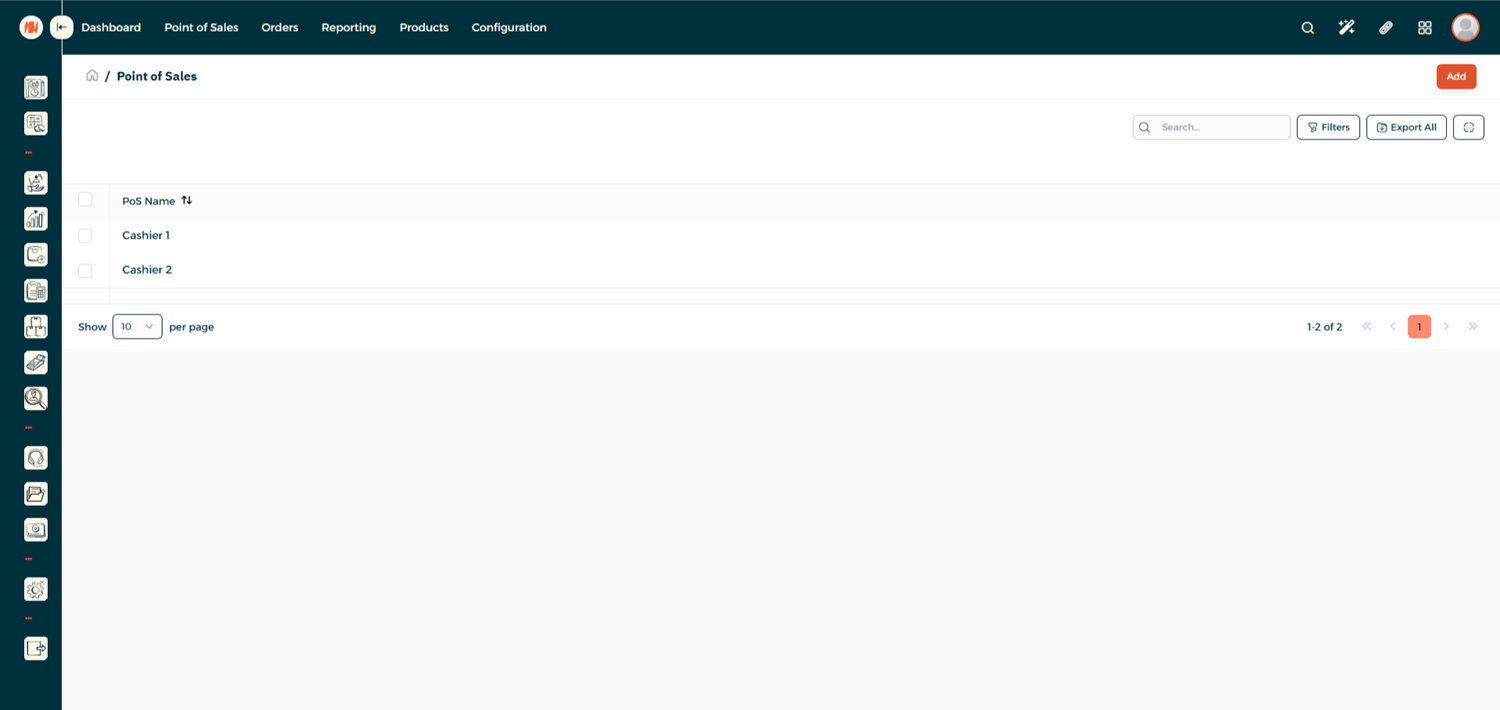
Step 2: Add a New POS
In the POS Configuration page, you will be able to see a list of existing POS in the system.
Click Add to add a new one.
Step 3: Fill the Details
Now you can start filling the POS Details
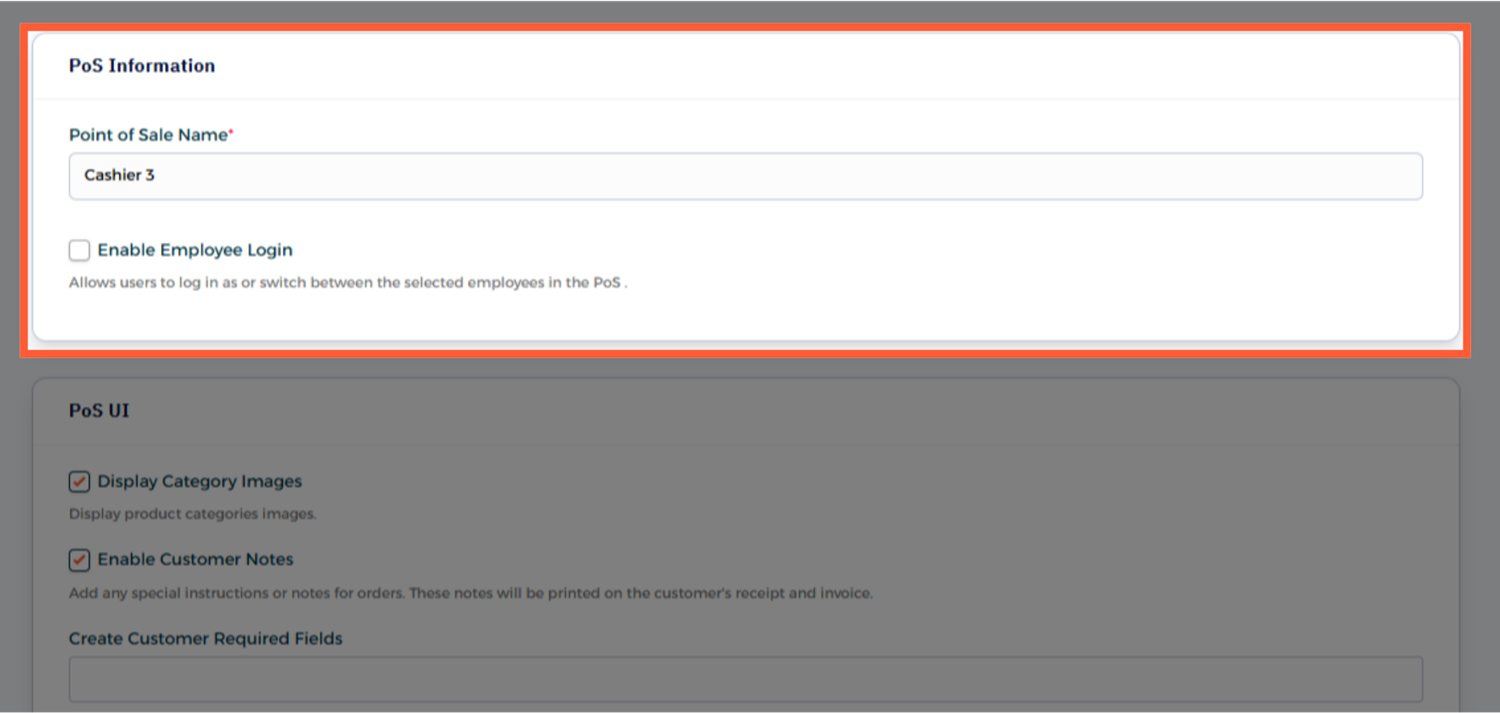
1- POS Information
- Add a Name for your POS
- Enable Employee Login: Allow you to specify users to this POS Read More
2- POS UI
- Display Category Images: Choose whether to show or hide product category images in your POS.
- Enable Customer Notes: Allow adding customer notes that will appear on printed receipts and invoices.
- Create Customer Required Fields: Mark specific customer fields as required — ensuring essential details are always provided before saving. For example, if the email address is important for your order, you can mark it as a mandatory field, and the customer information will not be saved unless an email is entered.
- Enforce Unique Customer Phone: Prevent duplicate customer records by requiring each customer to have a unique phone number.
- Restrict POS Categories: Assign specific product categories to a POS to control which items are displayed and sold through it.
- Enable Start Category: Set a default category that automatically opens when you log into the POS session.
- Enable Appointment Calendar: Activate the appointment scheduling calendar to manage and book customer appointments directly from the POS. Read More
- Limit Number of Products Loaded in the POS Session: Set a limit on how many products are loaded when a POS session starts — improving performance and loading speed.

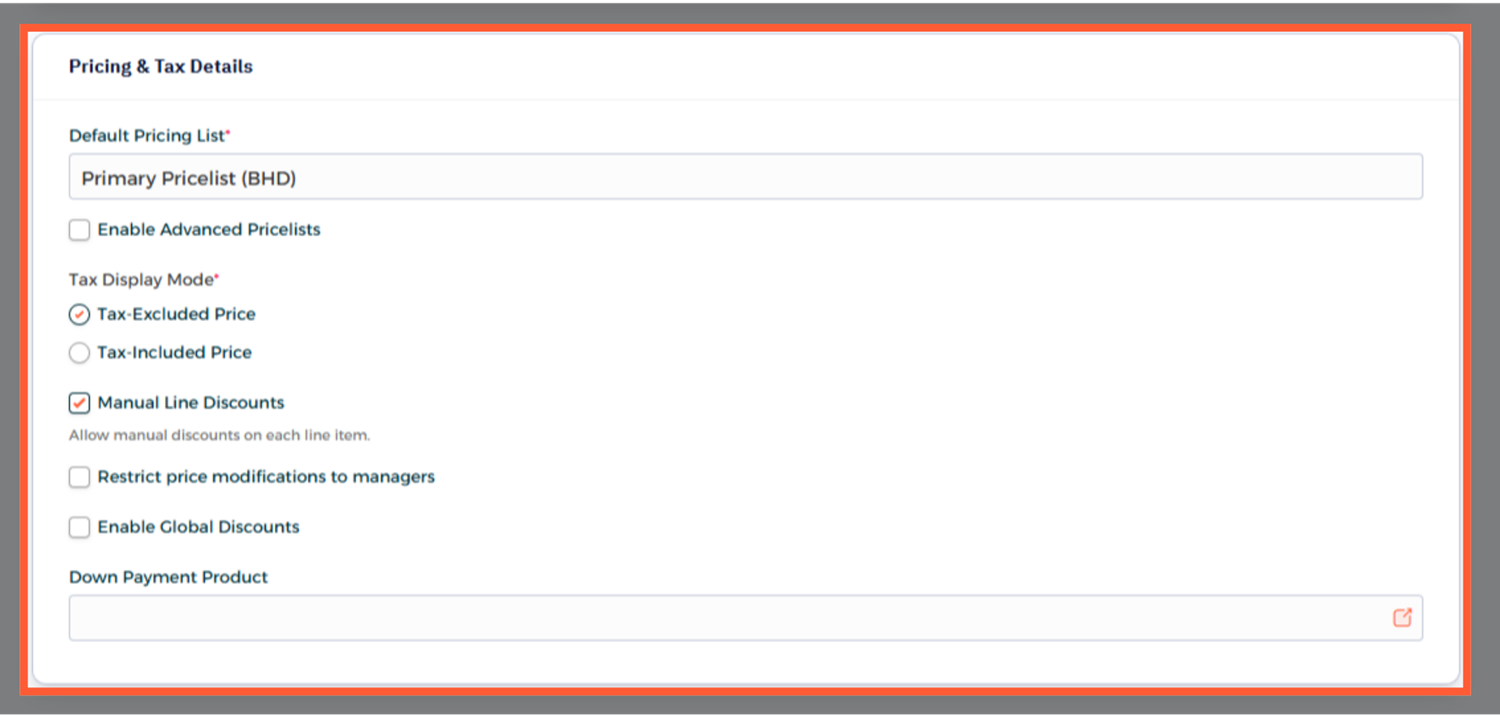
3- Pricing & Tax Details
- Default Pricing List: Set the default price list that the POS will use for all products and transactions.
- Enable Advanced Pricelists: Assign a specific pricelist to Point of Sales.
- Tax Display Mode: Choose how taxes are displayed on your POS — either included in the price or shown separately.
- Manual line Discounts: Allow users to apply manual discounts to individual products during the sale.
- Restrict price modifications to managers: Limit price changes to authorized managers only, ensuring pricing control and accuracy.
- Enable Global Discounts: Apply a single discount to the entire order or invoice instead of individual products.
- Down Payment Products: Select specific products that require a down payment before completing the sale.
4- Payments
- Payments Methods: Select the payment methods you want to assign to this POS for processing transactions.
- Cash Denominations: Define the cash denominations that will be available during payments and session closures.
- Enable Maximum Allowed Difference: Set the maximum allowed difference between the expected and actual counted cash when closing a session.

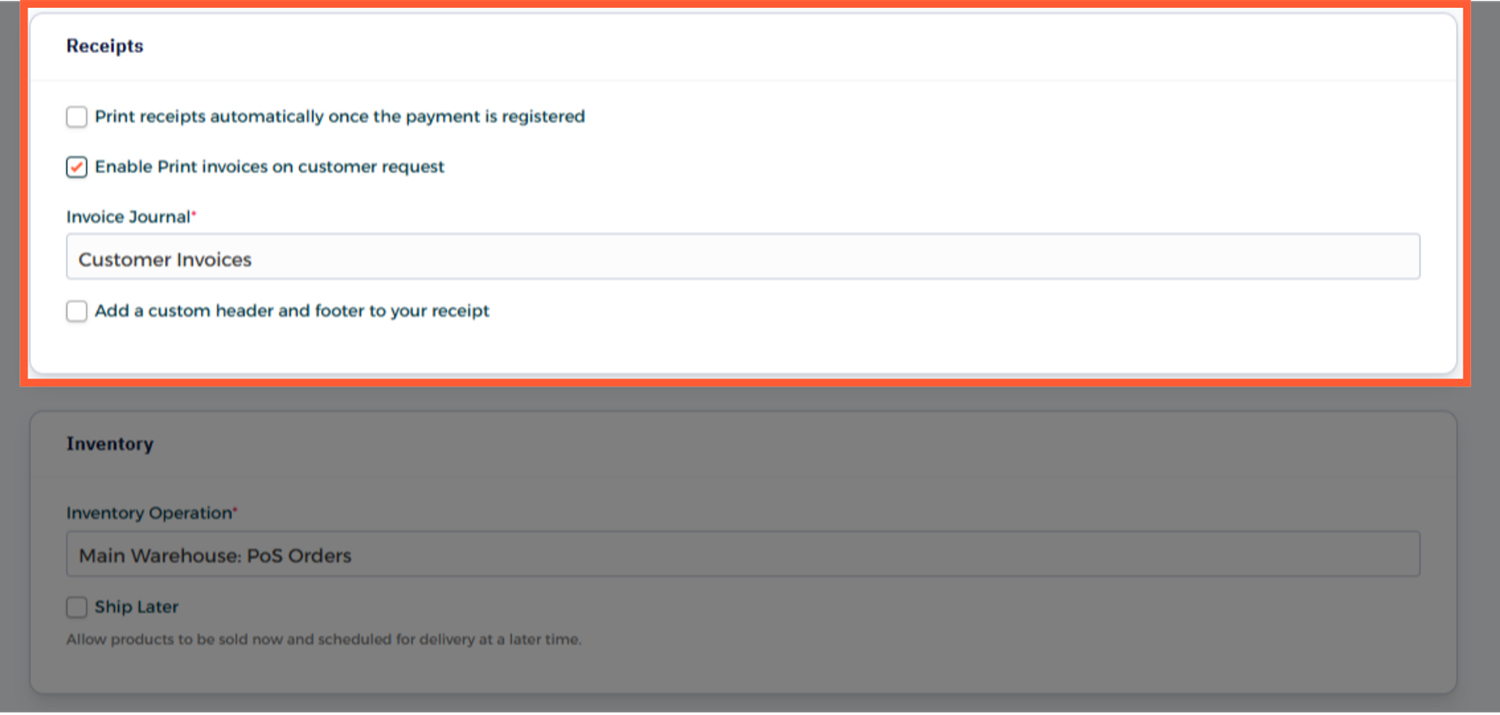
5- Receipts
- Print receipts automatically once the payment is registered: Choose whether receipts should print automatically after a payment is registered or require manual confirmation.
- Enable Print invoices on customer request: Choose whether creating an invoice is mandatory or not.
- Add a custom header and footer to your receipt: Personalize your receipts by adding a custom header and footer.
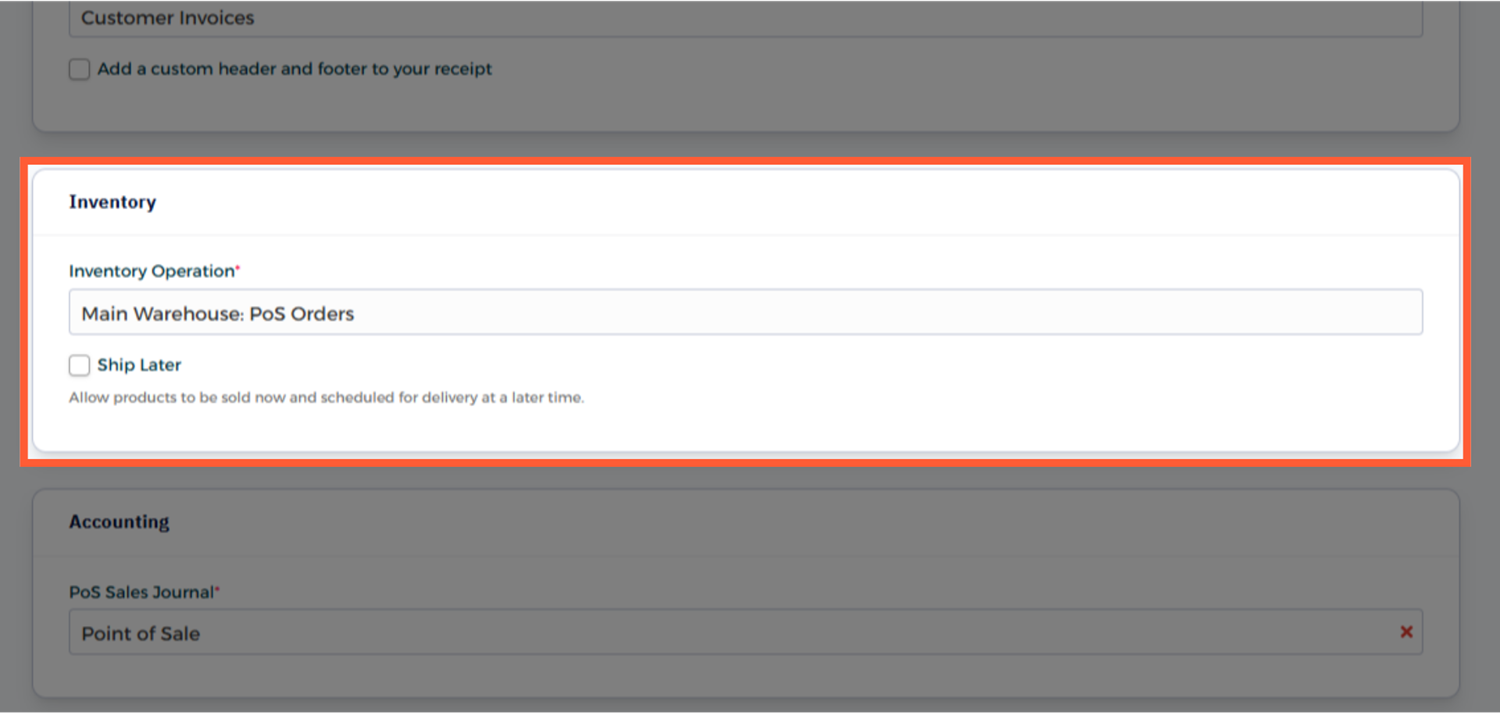
6- Inventory
- Inventory Operation: Select the inventory operation that will be linked to this POS for managing stock movements.
- Ship Later: Enable this option to allow products to be sold immediately while scheduling their delivery for a later date.
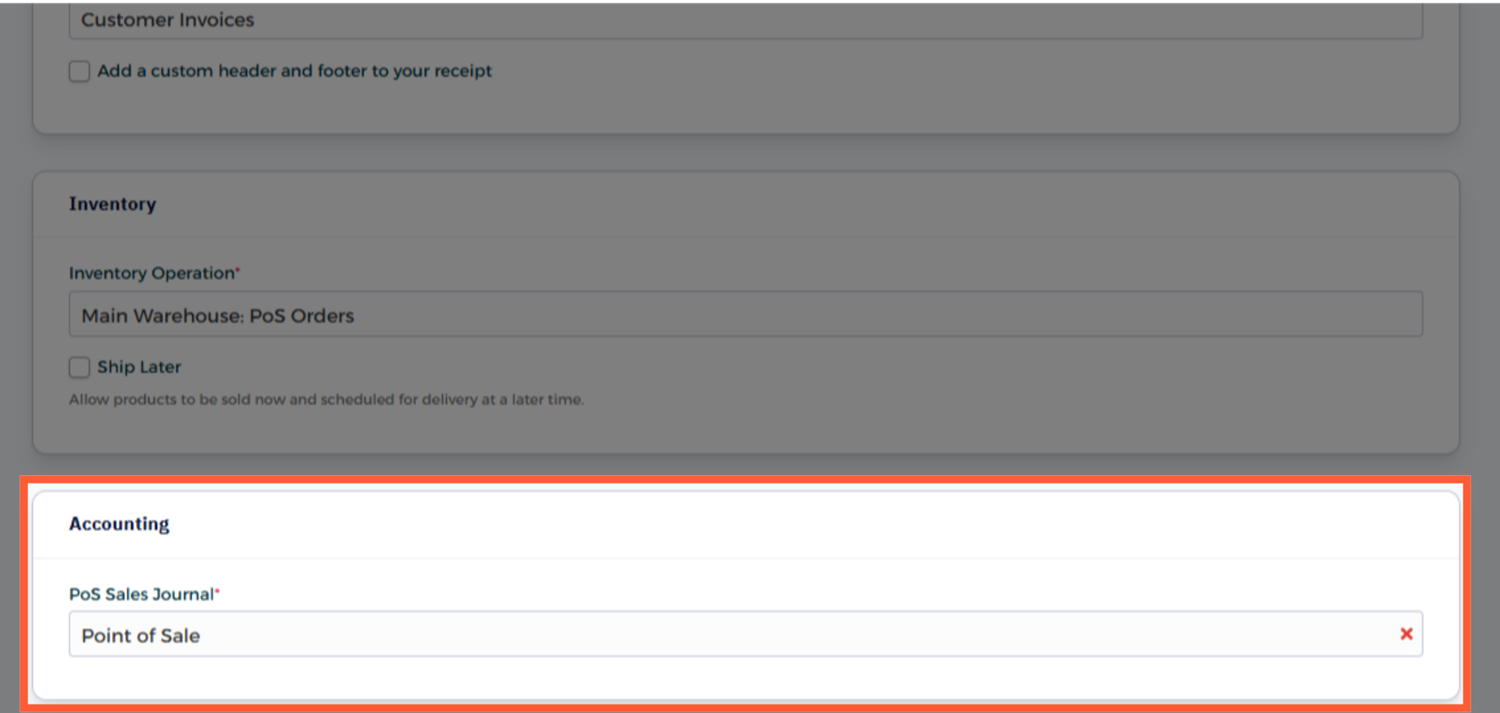
7- Accounting
- POS Sales Journal: Select the journal where all POS sales transactions will be recorded.
Step 4: Point of Sales
Once the POS is saved, it will appear alongside your other POS.

Notes & Tips
- Create separate POS sessions for different branches or cashiers — this helps with inventory tracking, performance monitoring, and balancing registers at day-end.
- Assign one admin user to each POS for register closing and exception handling
Frequently Asked Questions (FAQ)
Q: Can I create multiple POS setups in Invent ERP?
A: Yes, you can create multiple POS setups to manage different branches, cashiers, or business units. Each setup can have its own configurations, payment methods, and product categories.
Q: Can I restrict products by category in each POS?
A: Yes, you can use the Restrict POS Categories option to assign specific categories to each POS setup. This ensures that only the selected products appear in that POS.
Q: Can I automatically print receipts and invoices?
A: Yes, you can configure the POS to automatically print receipts once payment is registered or allow printing invoices only upon customer request.